Recently I had to install XHGui in my local environment to profile my PHP application. My goal was to have an easy way to compare two different executions of my request, one with my optimizations , and one without them. In this post I will show how my setup works.
This post will skip some fundamental concepts that you can easily find elsewhere, like what a profiler is, and what the history of XHProf is.
Install XHProf
XHProf is a PHP extension. It is the software that will be instrumenting our code with various metrics like CPU utilization, memory allocation, execution time, etc. We will use these data later on to decide if our optimizations are working as expected. The data that XHProf generates is stored in a text file with a data format that designed to be consumed by machines. This means that once we have XHProf installed we will have the data available, but we will not know how to read it.
To installing XHProf in you local machine can look a bit different depending on your host machine . In this tutorial I will show the steps I followed to installed in my Linux desktop.
In this case I will compile the PHP extension from the git repository as instructed in their
README. Bear in mind that you might need to install additional tools to be able to compile the C
code of this extension. Make sure to install these tools using sudo apt-get install build
-essential, or searching for install make gcc.
Build and install the extension
Execute the following commands, one by one in your terminal.
1 | |
Make PHP aware of the newly installed extension. For that we will create the tideways_xhprof.ini
file in the PHP7.3 directory (change to whatever version you use nowadays). This will contain the
text extension=tideways_xhprof.so with no extra configuration. Once we are done we will link the
file to the enabled directory so PHP will load it once it restarts.
This how this looks like in command line instructions:
1 | |
This works in my local environment, but you might need to adapt those commands to your particular
setup. Execute php --ini|grep xhprof and check that the ini file created above is detected.
That will indicate that PHP is aware of the extension.
Install XHGui
To install XHGui I followed the instructions in the README.md.
This is what my nginx configuration file looks like (/etc/nginx/sites-available/xhgui.mateuaguilo.com.conf)
after following the install instructions there.
1 | |
Configure XHGui
My goal is to be able to append the query string
_start_xhprof and _stop_xhprof so I can start collecting profile information in any PHP project
in my local.
I achieved that goal by modifying the profiler.enable configuration option for XHGui. First copy
the config/config.default.php to config/config.php, then find the profiler.enable array key
and paste the following function as the value:
1 | |
Save the configuration file and restart NGINX with systemctl restart nginx.
Try it out!
Now you can go to any of your local PHP applications (in my case https://local.contrib.com) and
navigate to the page you want to profile. Then append ?_start_xhprof to the URL and visit the
page. That will cause XHGui to notify XHProf to record the profile information.
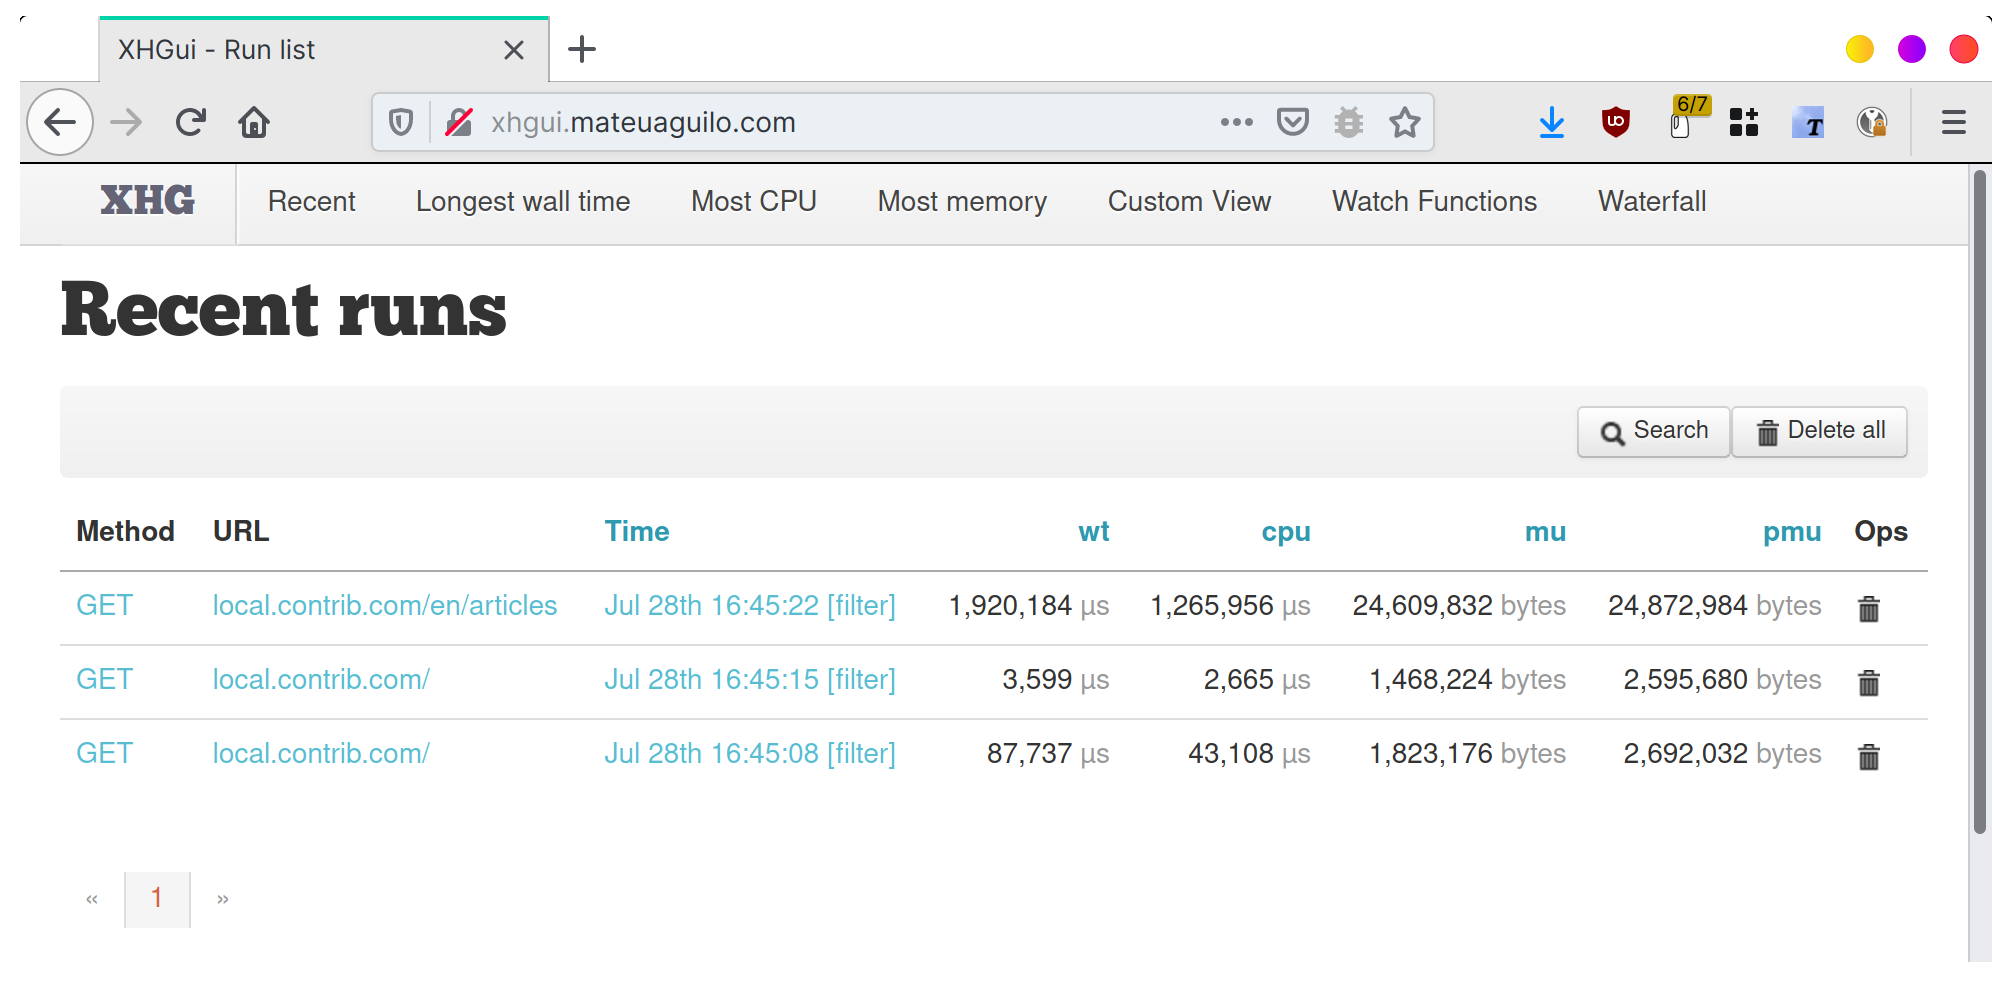
Now head out to your local installation of the XHGui site. Mine is at https://xhgui.mateuaguilo.com. You should see that you have profile information on the page you just executed.
Note that the code for profiler.enabled will set a cookie once you request profiling the first
time. After that you will not need to use ?_start_xhprof for the next 1 hour, all the executions
will be profiled. If you want to stop collecting profile information before the timeout, you can
use the ?_stop_xhprof query string. That will remove said cookie and stop gathering information.