
I have several local development environments in my machine. I would like to use HTTPS on them without much hustle. That is why I decided to create my own custom Certificate Authority to simplify the process.
First I want to disclose that I am not an expert in this matter. I did some research and stapled together several articles that I found. My main source of inspiration was this article.
Please note that I am fully aware there are local development toolkits that may handle this for me. I have never found a need to virtualize and or containerize my local development environment. I like running things in my metal because they run faster, I have more control over them, and debugging them is simpler. If I ever need to work on several sites in parallel requiring conflicting setups in my local, I will likely jump into that wagon. However, this article is not about that.
I did the whole process in three steps:
- I created the Certificate Authority (CA). This is a one time setup.
- I installed the CA into Linux and Firefox. This is also a one time setup.
- I generated one certificate per site, signed by the CA, and added it to nginx. You need to do this once per site.
Creating a custom Certificate Authority
Since I have a directory in my local with all my sites I decided to put all
the files in a directory there: /home/e0ipso/Sites/certs. Please change the path to the one you use.
Run the commands in that directory.
To create the CA you need to type:
1 | |
During the execution of that command you will need to provide a passphrase. I recommend using your password manager to generate and store such password. You will need the password in the last step.
After you generate the key, generate the root certificate.
1 | |
Openssl will prompt you with questions. You can leave the questions on their defaults, provide silly answers, or give it truthful values. It doesn’t matter.
Making your system accept the new authority
If you use Linux you need to install the ca-certificate on the system. This is useful if you are not using Firefox to make the HTTP requests. Think of curl, Insomnia (which is amazing), a PHP program, etc. I learned how to do this in this post.
1 | |
In addition to that you will need to install it into Firefox. Yes, even if you installed it system wide.
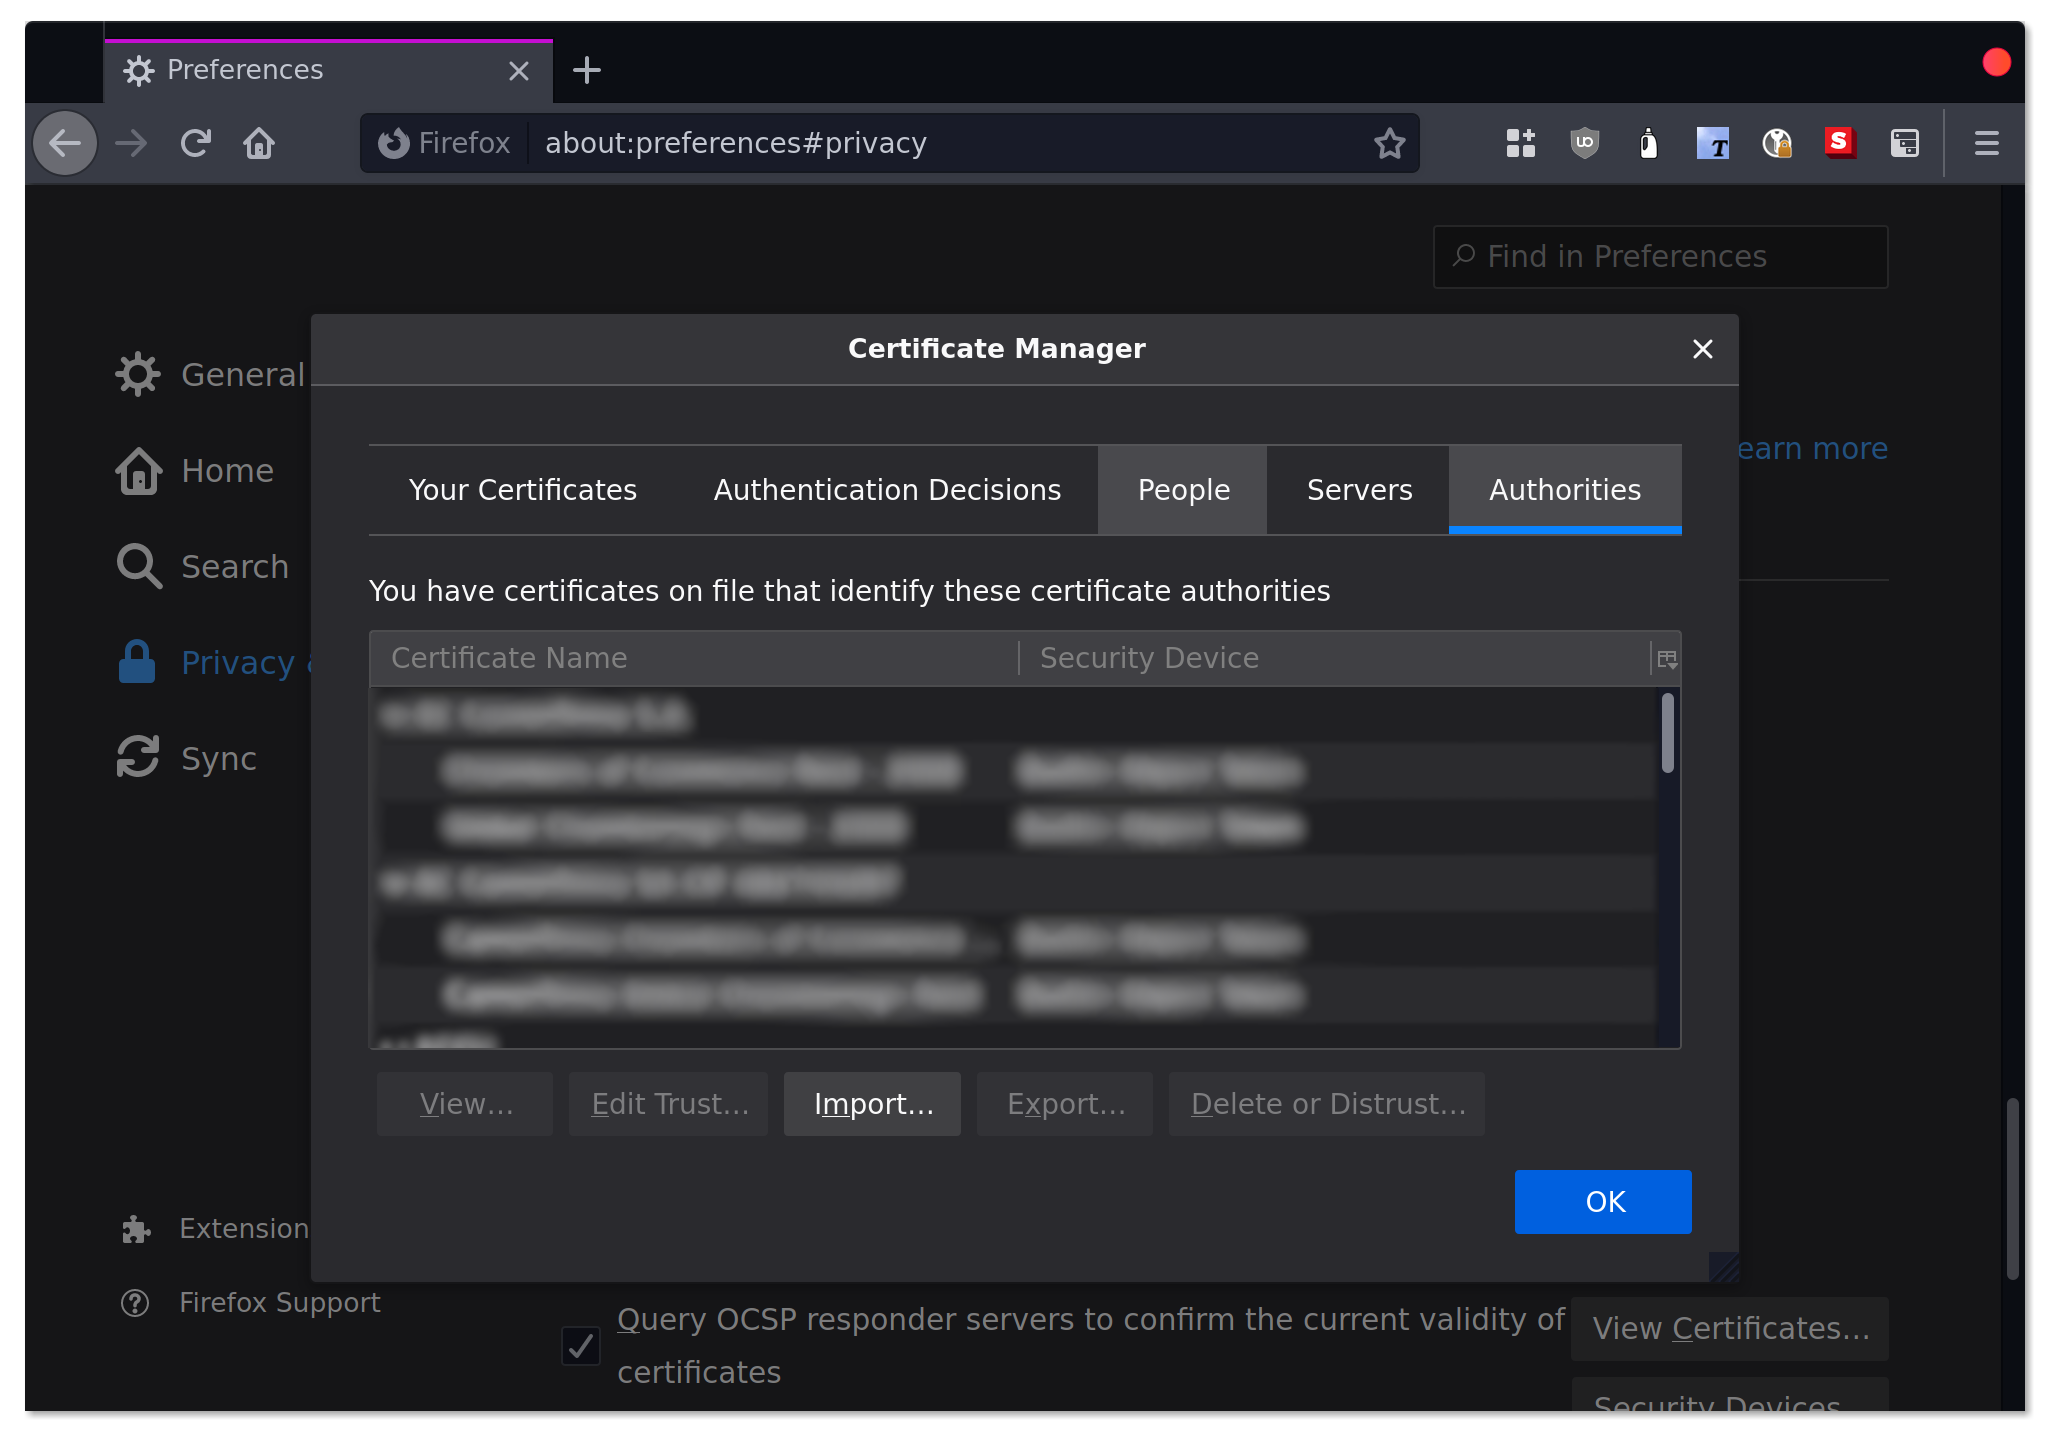
In the firefox preferences access the Privacy and Security section. After that under the
Certificates heading select View Certificates…. This will open a dialog with an Authorities
tab. There you will be able to import myCA.pem.
Creating the site certificate
This step is necessary every time you need to enable SSL for a new site in your local environment. This is why I wanted to simplify the process as much as possible, because next time I need to do this I will not remember how to do it. This is the shell script (you can also download it).
1 | |
I have this script in /home/e0ipso/Sites/generate-certificate.sh, one level above
/home/e0ipso/Sites/certs/myCA.key. Then I can run it with the domain name I want the certificate
for:
1 | |
Once again this will prompt you with some questions, you can skip them if you like. At some point
it will require the password we saved in our password manager earlier (hopefully not a napkin). This
will generate the local.contrib.com.key and local.contrib.com.crt files. The last step is to add
it you your local webserver.
I use nginx, so I add:
1 | |
If you are curious, this is the nginx configuration file I use for my local development in a Drupal project.
Photo by Mauro Sbicego on Unsplash